Hi! I am so stoked that I was able to find some time to create a second card for the Pretty Pink Posh Watercolor Blog Hop! There are so many amazing entries and I am so floored by the talent that is out there. All of the wonderful entries have really inspired me to give watercoloring another go. I’m still trying to get the hang of watercoloring so please don’t judge me too harshly!
I am in LOVE with Phyllis Harris illustrations and am so happy that she designs for Unity Stamp Company. I decided to try my hand at watercoloring one of my favorite images of hers. What do you think?

See below for steps to reproduce:
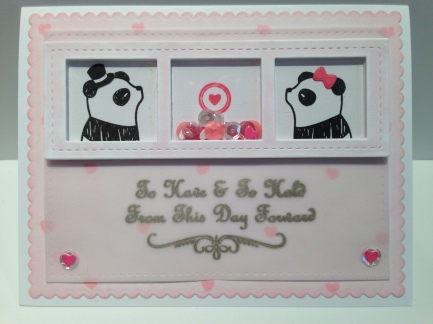
- Create an A2 card base out of Neenah Solar White 110lb. Cardstock
- Use the Mama Elephant Basic Set Creative Cuts to create a frame out of Neenah Solar White 110lb. Cardstock
- Cut an A2-size rectangle out of Tim Holtz Watercolor Paper
- Stamp the girl from the Unity Stamp Company Face the Sunshine Stamp Set with VersaFine Vintage Sepia and heat emboss with clear embossing powder
- Use Kuretake Zig Clean Color Real Brush Markers (071 Flesh Color, 021 Light Carmine, 091 Light Gray, 050 Yellow, 052 Bright Yellow, 041 Light Green, 044 Deep Green, 065 Mid Brown) to watercolor the stamped image
- Wash the sky and grass with Tumbled Glass Distress Ink and Peeled Paint Distress Ink, respectively
- Stamp the sentiment from the Unity Stamp Company Insightful Meadow’s Stamp Set with VersaFine Vintage Sepia
- Adhere everything together using the Tombow Mono Adhesive Dots Tape Runner
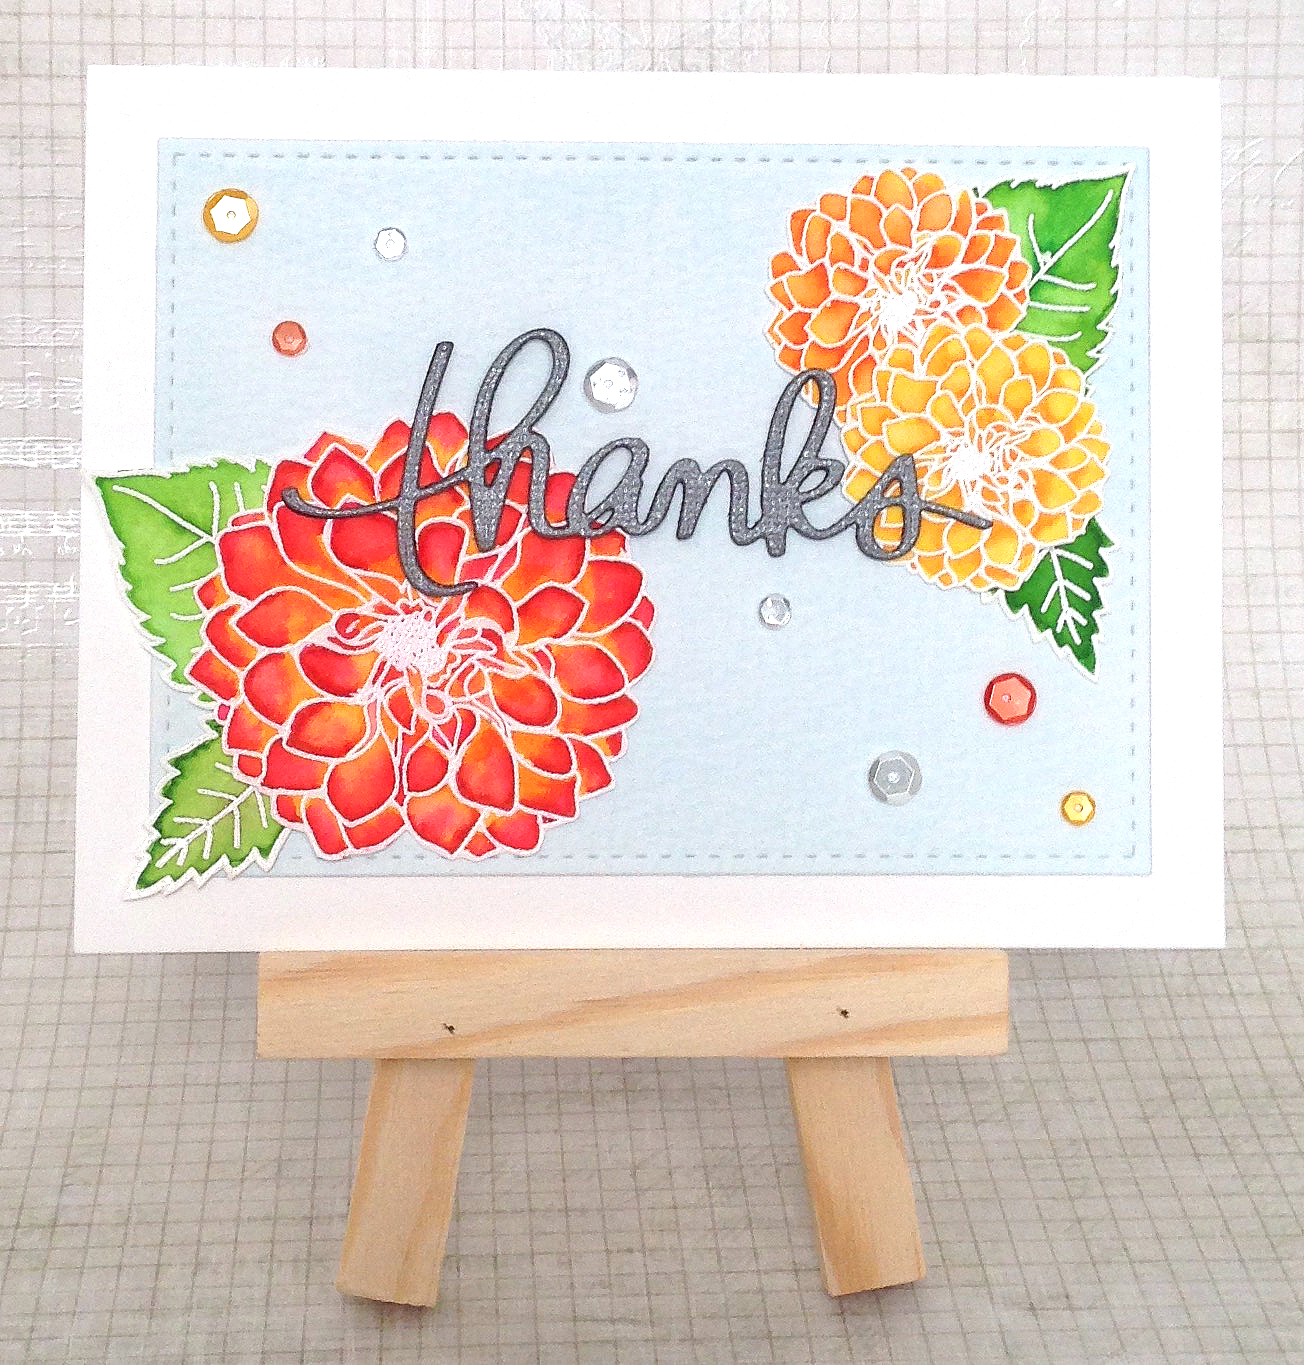
- Embellish with Pretty Pink Posh Sequins (6mm Sparkling Clear, 4mm Sparkling Clear) using Zots Bling Dots
- Send a bit of happy mail to a friend and spread a little sunshine in their life!
Thank you so much for visiting my blog today and I hope you get a chance to hop along with Pretty Pink Posh!
Happy Crafting!!